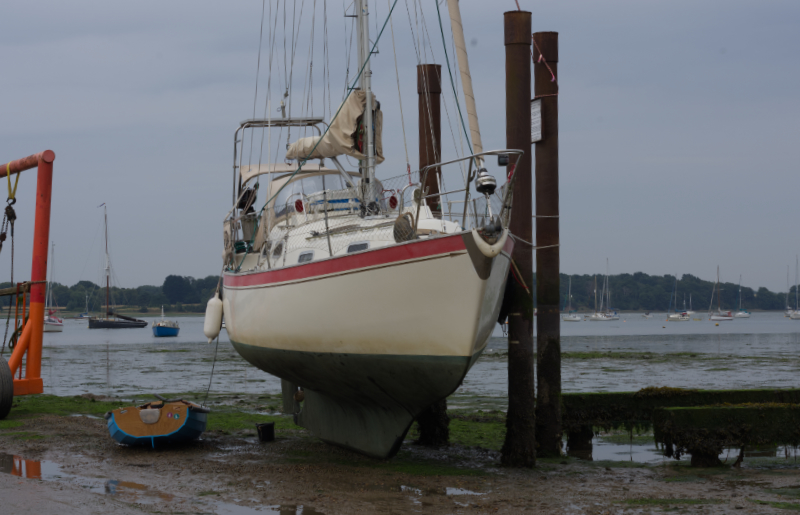
Fitting out Spring 2026
I had seemed or indeed was a long cold and wet winter and spring seemed a long time coming. I seemed to be waiting for ever for the weather to be warm enough to want to spend time in the boat yard. Eventually in mid May it seemed the time was right. Arriving at the boat, untouched since late September, it was a relief to find all alright. The cover still on and secure, mousing lines intact and opening the hatch all dry and non smelly inside. Time to start working through the list. There is often a logical order of jobs to do but this is modified by conditions and it was dry but quite breezy so I made a start on the sanding down and antifouling of the prop, 2 coats of primer and 3 of antifoul – Velox spread out over 5 days.
All the running rigging was re-reeved, Furlex swivel cleaned and regreased & furling line refitted.
The anchor rode and chain stowed away in the locker from where it had been airing, Next the heads seacocks and pumps were re-assembled, I alway dis-assemble them so they don’t seize up over winter. On then to the engine, oil filter fitted, oil refilled, anodes checked and the new water pump fitted. Yes I had decided to splash out on a new pump after all the intermittent water cooling problems that had plagued me last year. Late last season in an effort to solve these water cooling problems I had replaced all the engine cooling water hoses with silicone rubber hoses. I find the “normal“ clear plastic reinforced ones tend to harden over time reduce the effectiveness of the seals they make on the spigots.

new water hoses in engine
One morning the wind had dropped, so tit was time to go up the mast, check all the rigging split pins, masthead sheaves and lubricate them, refit the mast head speed instrument which I take off at lay up so it is not idly spinning all winter and attach the lazy jacks. Then I could fit mainsail & sail cover and furling yankee. Fit the spray hood and it is beginning to look like a sailing boat again.
A purchase over winter had been a PcNautic tiller pilot as I had become increasing frustrated by the performance of the Simrad item, perhaps a bit under spec for a long keel heavyish boat like the Vancouver. The PcNautic item comprises 3 components, the drive, the motor controller and the control head. The drive presented no problem, just a straight swop for the Simrad, just change the power cable plug. Siting the motor controller caused some head scratching but I eventually hit on a suitable location. For the control head the sensible place was on the bulkhead on the cockpit, of course this meant cutting some holes through, a job approached with some trepidation and no little care. Who doesn’t hate cutting hole in your boat? I was surprised by how thick was both the fibreglass moulding and the ply backing panel but indicitive of the sturdyness of construction of Vancouvers. Then of course installing the wiring involving grovelling on ones back in the quarter berth and removing and replacing head panels, pulling wires through.
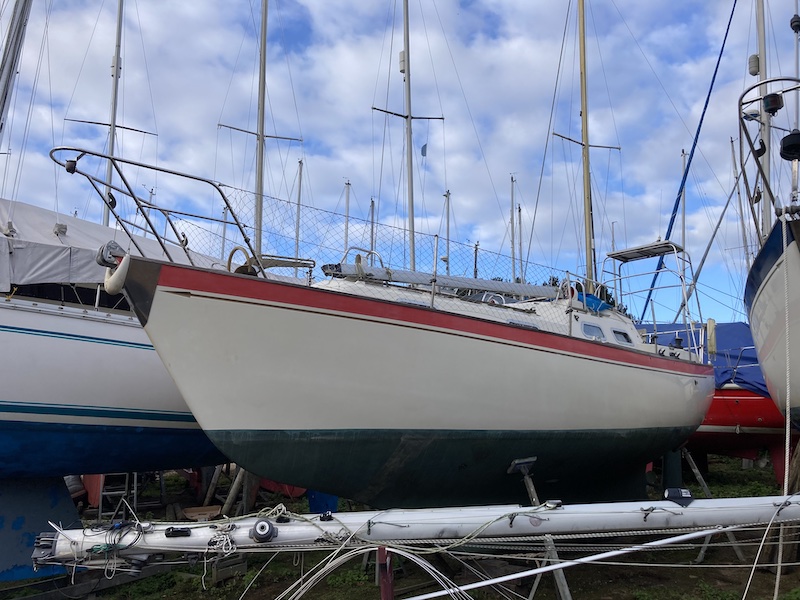
The final job was to burnish the coppercoat and to wax & polish the hull. So a weeks hard work and a few final jobs like the jackstays and running backstay can be done once afloat. Let us hope we have a better season than last year,

PcNautic control

Pc Nautic ram