Sometimes when you are working on a boat, progress seems painfully slow but gradually it gets done. Progress was not helped by the long Christmas break that some business in NZ take, but after all it is the middle of their summer and they want to take their summer holidays, escape to the beach or whatever. So I was held up waiting for parts and rather than getting one job finished I had about 3 or 4 jobs on the go at once, all waiting either for bits or for someone else to do something.
The fitting of a new log was one of those that should have been simple but… it was a NMEA200 instrument so required a backbone cable installing, thicker wires so that the existing holes that the wire passed through had to be enlarged. A new through hull fitting installed, again a bigger hole needed. I could just swop the log with the old log but instead had to use the old depth sounder position, moving that to a new through hull fitting on the other side of the hull and the wires for that re-routing. Of course the instrument head needed a bigger opening in the instrument console and of course to route the new cables the hatch garage had to be taken off and also 3 of the cabin ceiling panels and the switch panel radio panel and plotter AIS panel. With half the lockers having to be emptied as well the inside of the boat was in turmoil whilst this was underway. To compound matters work was underway to install the windlass so all the forward stowage area was emptied out. The inside of the boat and the cockpit was like Steptoe’s yard and made living a bit difficult. Still it will be a good incentive to get rid of some stuff.
Installing the windlass provided its own set of challenges. 2 big holes had to be cut through the foredeck. Not having the required hole saws and they being expensive to buy for just one use I got Bruce to do this for me. Lots of measuring, use of a made up template and pondering before the holes were cut as it wouldn’t do to get this wrong.

Holes cut in deck for the windlass
Once the holes were cut the edges were sealed with epoxy and glass-fibre tape to safeguard against water ingress to the plywood deck core. Reassuringly the deck is almost an inch thick, they are solidly built these Vancouvers.
With the windlass all fitted time to fit the solenoid, circuit breaker, up/down cockpit switches and foot switches. Then it was just a matter of wiring it all in, not a simple matter routing two 25mm battery cables from battery to the windlass solenoid plus the switch wiring, much head scratching was required but at last all done. Low and behold the windlass runs. I just have to make good the deck where that old hawse pipe ran.

Wiring to solenoid and windlass
With the forward stowage empty I repainted it with white bilge paint. Horrid process, hot, cramped, airless and very fumy. It was like painting the inside of the black hole of Calcutta white.
An interlude from working on my boat was to give Noel and Mark a hand to pick up some timber for the new boat that Noel is building. Noel’s boat was very near mine in the town basin marina when I first arrived in Whangarei, it is a beautiful 50ft something wooden ketch that he built and which he sailed around the world including Cape Horn. He has decided as he is getting older (he is my age) he is going to downsize so building a new 35ft boat. Mark is restoring an old wooden boat next to me in the boatyard and it has been fascinating watching the work progress.
Anyway Noel was buying some Oregon Pine for his topside planks so we drove up to Russell in the Bay of Islands to pick it up. Now the biggest was a serious bit of timber 20” wide by 8” thick by 40 foot long and it took some handling to get it out of the stack and on to the trailer.
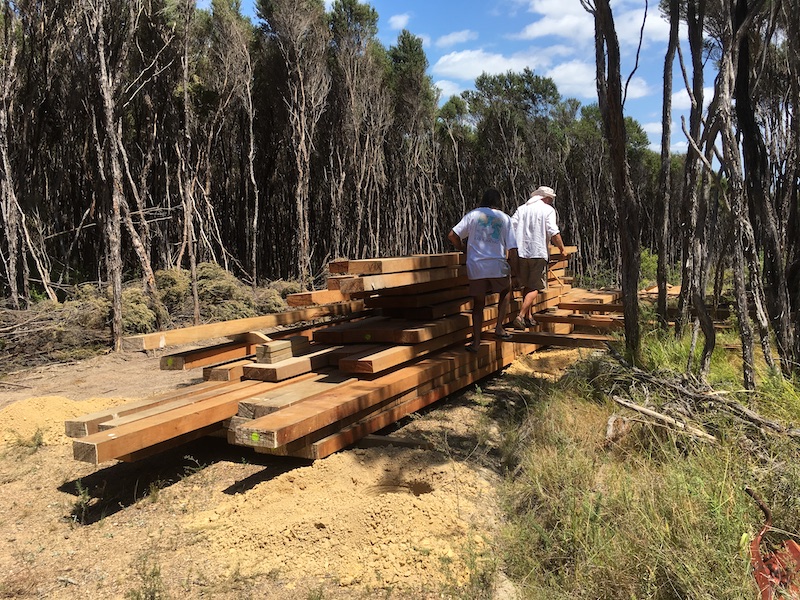
Its that bit with the yellow spot at the bottom of the stack we want
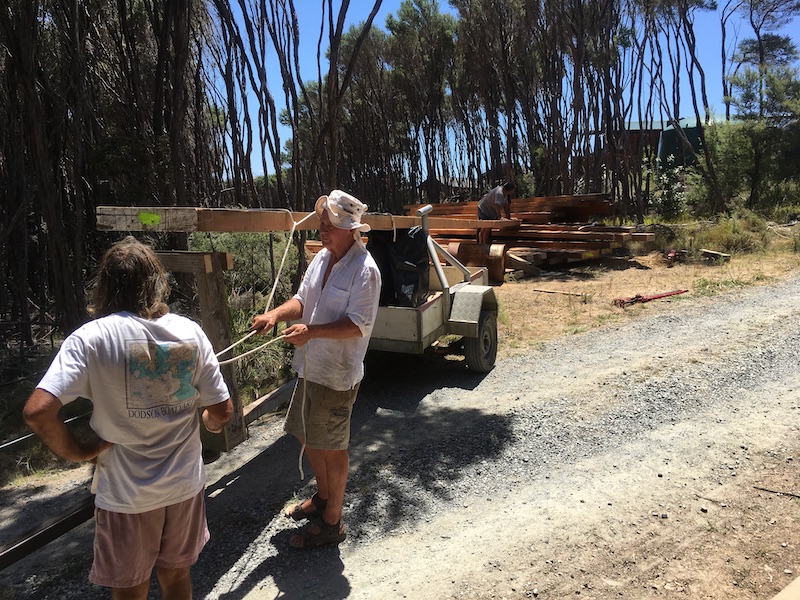
Winching the wood onto the trailer
2 more pieces 10’’ wide by 8” thick by 40 foot long completed the load. Offloading at Noels plot of land where the boat will be built was thankfully easier.
To tackle the replacement of the cutlass bearing I had at first to remove the rudder so that I could draw the propshaft. With the rudder off I could replace the delron rudder bushes which where showing signs of wear. One of the great things about re-fitting in Whangarei is that you can source most everything so a visit to a bearing shop soon supplied new bushes which were easily fitted.
New rudder bushes
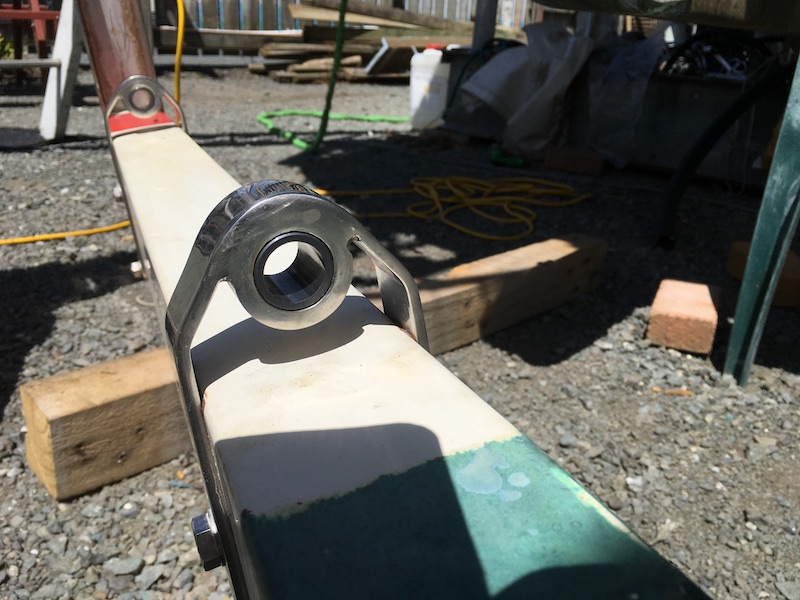
Drawing the propshaft revealed a badly worn shaft. It had obviously been once repaired by grinding down and building up again, this had failed big time. Nothing for it but a new shaft. Mark told me the man to see and soon I had a new shaft machined up at what I though a bargain price.
Removing the cutlass bearing proved a little tricky but careful investigation revealed the grub screw which held it in place and then careful work with a hacksaw blade to make 2 lengthwise cuts and out came the old bearing. A new one was soon fitted. Meanwhile I had taken the opportunity to check over the engine, I like these careful checks as you can often spot potential problems, in this case a partially cracked & perished fuel return hose. I also replacing the sacrificial anodes in the engine and repainted a few rusty spots. The bilges were also cleaned with the bilge pump hoses removed and cleaned. In the process I found a screwdriver lodged in the bilge pump hose, one that I knew I had dropped into the bilges at some time but had been unable to find and had forgotten about.
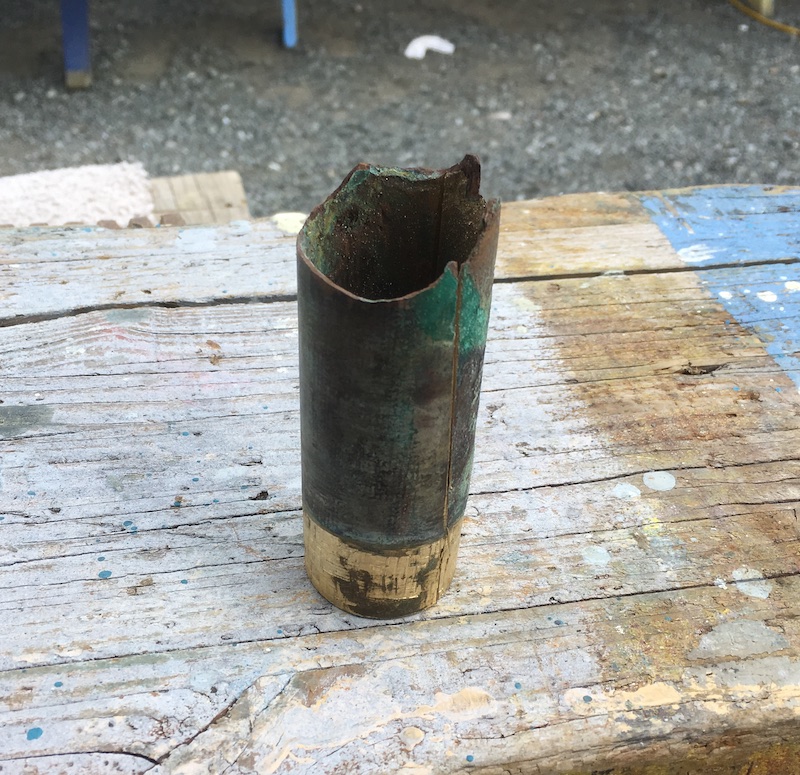
old cutlass bearing

new cutlass bearing
Before refitting the propshaft I repacked the stern gland.

Inserting the new prop shaft
Refitting the rudder was a little tricky on my own as it weighs a fair bit and you have to align the 2 rudder pintles and the heel bearing but a little ingenuity saw it done.
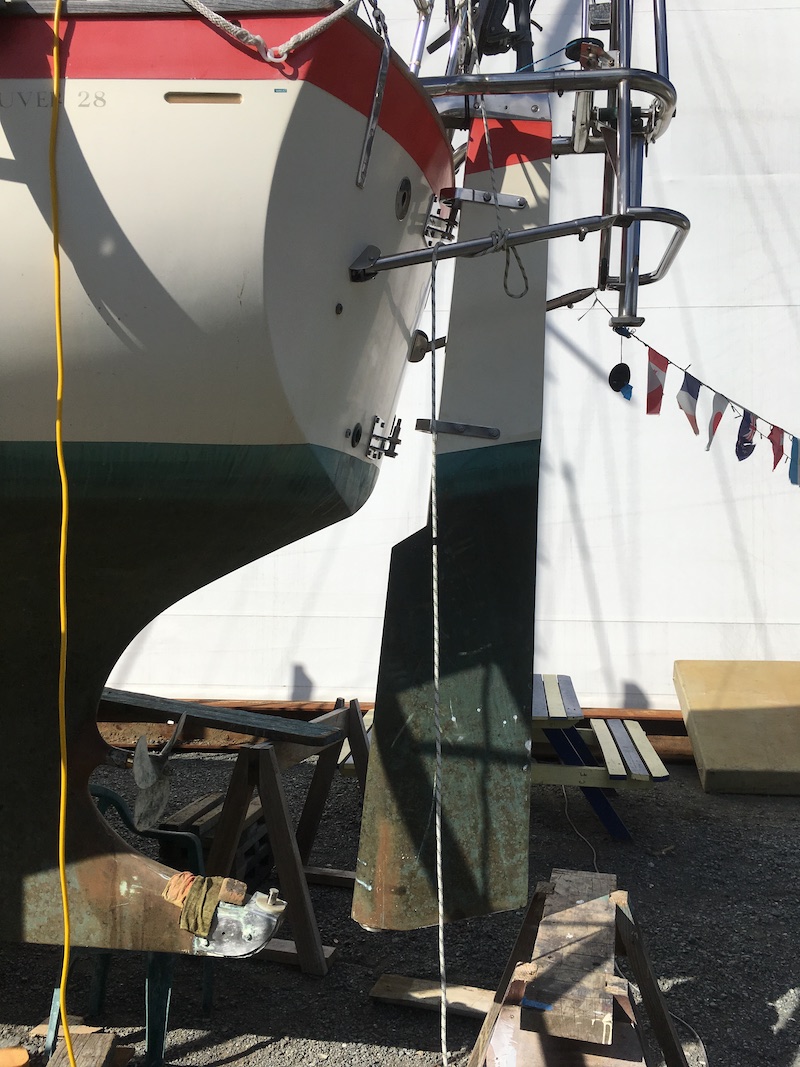
refitting rudder
The sorely neglected outboard engine was due some tlc. But I was pleased that with a clean spark plug and some petrol it started and ran and even cooling water flowed through it. It was looking rather tatty though so after a partial disassembly I scrapped of the flacking paint and primed and painted it so it looks respectable again.
One major job on my long list was to redo the copper coat on the hull which was wearing time in places. This was a job that I didn’t feel able to tackle myself so I employed Bruce to do it. After a light sanding of the hull Bruce and his 2 helpers put on 5 coats of copper coat in one day- each fresh coat has to be applied whilst the previous coat is still tacky and the special epoxy, hardener and copper particles carefully mixed in smallish quantities as the pot life is only about 20 mins and the copper must not be allowed to settle out. I helped with the mixing but watching them work I realised that i had made the right decision to not try it myself.

Mixing the copper coat

Finished 5 coats of copper coat
Ronnie is making a new spray hood and is just putting the finishing touches to it. I suppose the old one has done well but I didn’t think it had another season left in it.

Ronnnie making a start on a new spray hood
There is still much to be done before Sea Bear is ready for the water again but I feel all the major stuff has been tackled and we are getting there.